Icing sugar preparing
Before we start to do icing sugar we must know how many colors we going to mix and what kind of icing we will need.
I have used always two types of icing, that means
- icing for drawing & side lines drawing from more THICK icing
- icing for filling up bigger surfaces done from more WATERY icing
I will show you now steps how to do icing and later on in design section which icing I have used for different designs.
Quantity of icing sugar ALWAYS DEPENDS on KIND of DESIGNS you like to do. If you placing lots of backgrounds obviously you use more icing sugar & meringue powder. This quantity showing down bellow is done for around 50 cookies with full background and rest just simple designs or dip in chocolate. We got total around 90 cookies for about 1 kg of icing sugar.

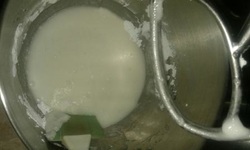
Prepare 1kg icing sugar, 100ml of water and 1 egg wh (or 1 1/2 tsp meringue)
|
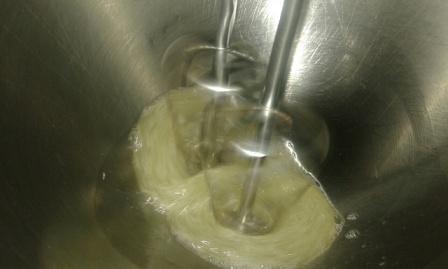
Mix on highest speed
|
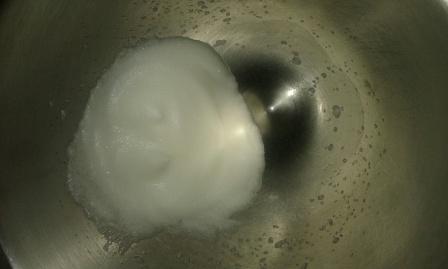
After several minutes you will get foam.
|
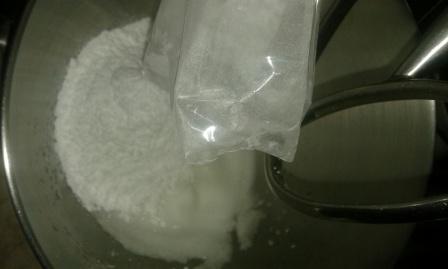
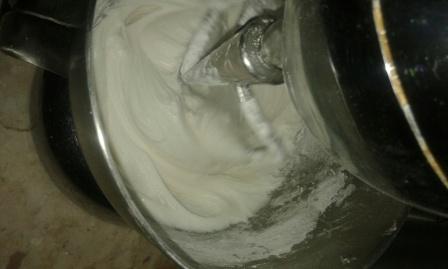
Start adding slowly sugar on very low speed.
And very little water.
|
With egg white MAKE SURE there is no even small part of yolk! Otherwise foam will NEVER COME. Foam must be as one piece. If you try to roll it over bowl it will be one piece. That time we know its right! Usually i place half bag and 50ml water. MIX SLOWLY!
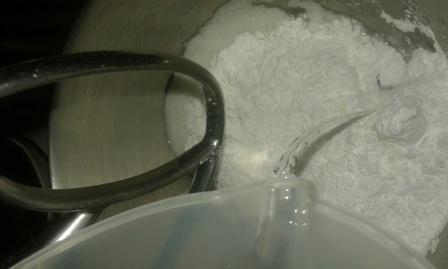
If icing getting too thick add water by drops.
|
Don't forget to use spatula time to time, to take out sticky
sugar from sides.
|
Slowly add rest of sugar and by drops water.
|
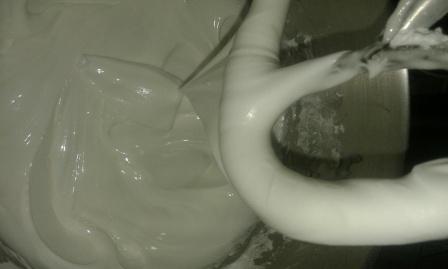
You can notice small waves
in icing as its getting more thick.
|
You can already see icing sugar start to be more & more thick. If you have bit of edible glucose you can ad one tsp, but its not necessary, it just give more shine...
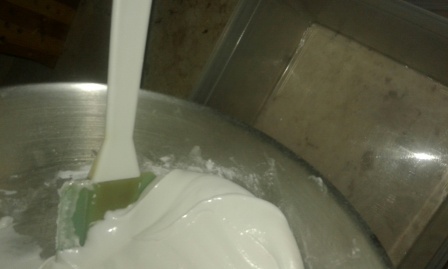
At the end properly mix the icing with spatula
|
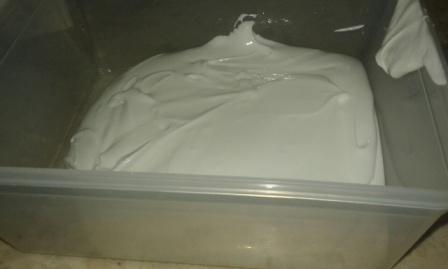
Place the icing into the plastic box
|
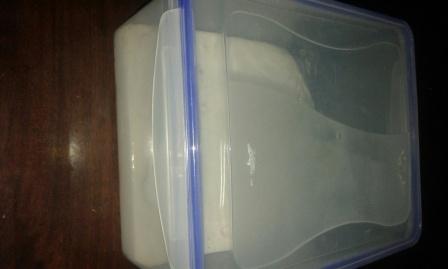
Always cover icing sugar as its getting dry very fast.
|
Do not store in fridge. Use just in kitchen/room temperature. If your designs taking up to 5-7 days there is no problem store it in the box.
Cookies designing
This part will be bit more difficult, but do not worry, everything needs time & bit of practice. You got to prepare your icing colors, designing bottles & arrange work how will be going all step by step. There are many ways of designing cookies. In my bakery as we used to do around 200-250 cookies a day & I have chosen my way how to do it.
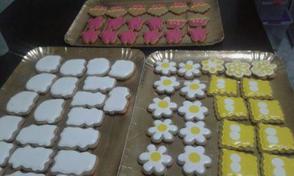
Maybe as well it looks very complicated as I want to show at once 3 different designs, but steps are always the same.
Very important information! To design cookies with icing takes minimum 2 days. First day you place backgrounds only & than only next day you start drawing. If you have too many colors it might take more days as icing colors must dry, that it will not mix up ( color will not come to other color).
LET'S PREPARE COLORED ICING SUGAR
There are as well other equipment s which other baker use but I was more traditional, and used to do designs - drawing my own way. For ladies at home maybe easier to do it this my way. Here are first instructions to do small cones from foil.
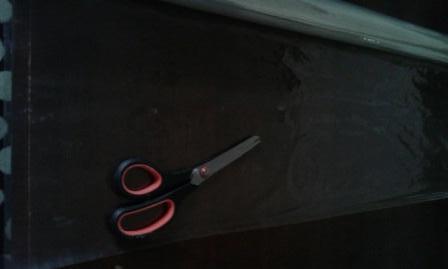
Cut from foil small squares around 20x20 cm. Cut so many pieces how many colors you will need.
|
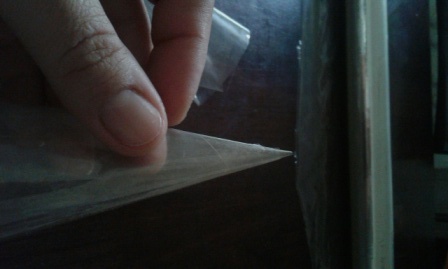
Turn the squares into the cone & use the tape to close on the sides that icing which we will place inside will not go out.
|

Small cones should look like this.
|
These cones we will be using as I already mentioned for drawing designs, or outlines, so that means icing sugar must be more thick.
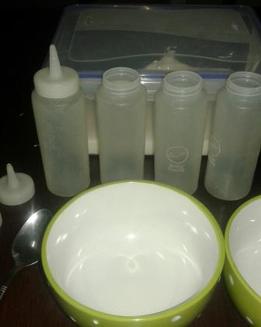
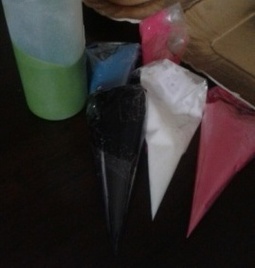
Next step we prepare small bowls for mixing icing with colors, designing bottles & our foil cones. Here you have to count how many colored backgrounds you will need & how many colored drawing icings for the cones.
Next step we prepare small bowls for mixing icing with colors, designing bottles & our foil cones. Here you have to count how many colored backgrounds you will need & how many colored drawing icings for the cones.
|
|
|
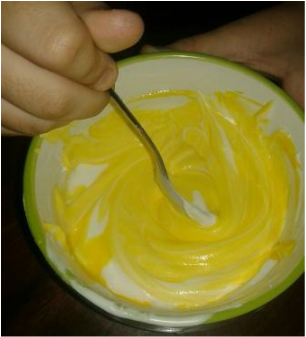
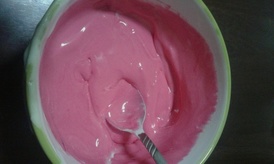
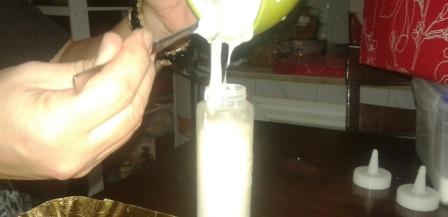
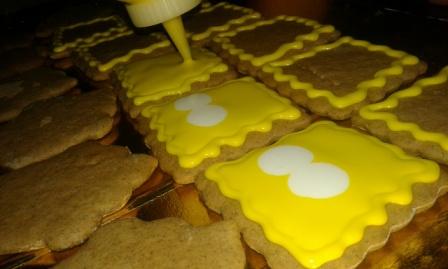
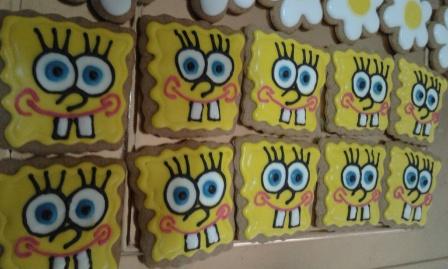
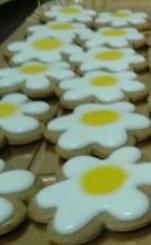
We have already baked as example Sponge Bob, Patrick & Hallo Kitty. That means we will prepare 3 colors of backgrounds. White, yellow & pink. We just take around 5-6 spoons white icing into the bowl, put few drops of water and mix it well. Do not do it very watery. For colored ones use drops of color and mix each one separately. Place into the designing bottles. Type of icing cant be watery and no thick. Once you close the bottle and try to push it it must be easy for you to use it. If icing not going easily out you got to ad bit more water as your hand will pain and icing wont come nice on cookie. It will do lines - icing sugar thick one dries very fast .
For drawing , icing in the cone foils you have to do same mixing just you got to add more sugar!
For drawing , icing in the cone foils you have to do same mixing just you got to add more sugar!

|
|
When all ready we will start with designing.
|
|
|
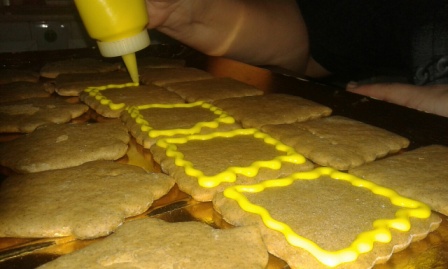
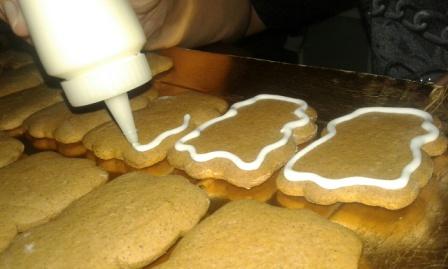
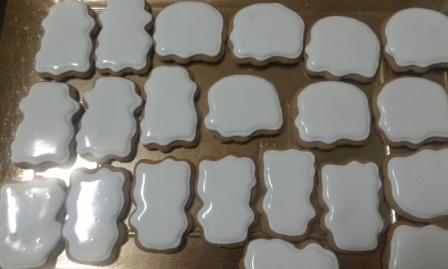
First you design outlines. Keep it dry for half an hour.
|
|

|
Start putting background colors. For bit comfortable work you can use even bottles from ketchup with bigger top. When you do Sponge Bob immediately draw his white eyes in. If white icing in proper consistency colors will not mix up.
HERE YOUR JOB OF DAY IS FINISHED! Keep cookies to dry on normal room temperature for min 24 hours.
THE NEXT DAY...
HERE YOUR JOB OF DAY IS FINISHED! Keep cookies to dry on normal room temperature for min 24 hours.
THE NEXT DAY...

|
|

|
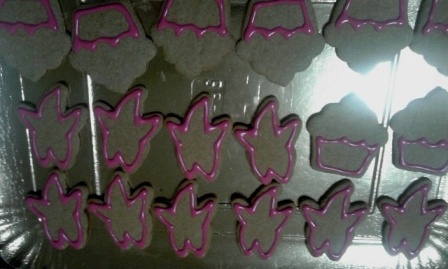
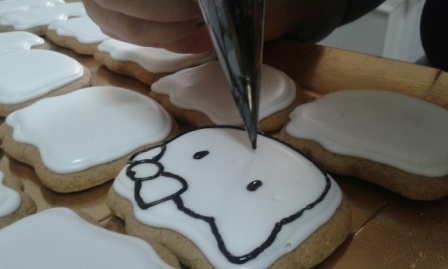
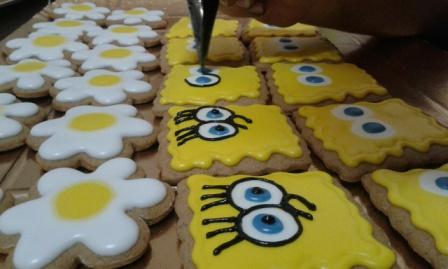
Draw into Sponge Bob white eyes blue part of eye...Hallo Kitty draw with black icing face....Patrick draw white eyes & outline of trousers.
|

|

|
Later draw with black icing eyes & nose of Sponge Bob...Hallo Kitty full bodies & faces...Patrick color his trousers.

|

|

|
Sponge Bob draw his mouth with pink icing...Hallo Kitty fill up ribbons with pink icing...Patrick finish all trousers.

|

|

|
Draw black teeth for Sponge Bob, after half an hour filled them up with white icing. For Hallo Kitty color trousers and Patrick finish with black icing eyes & mouth....and all ready...you just have to keep it till next 24 hours to dry.....
|

|
DO NOT FORGET...IT IS JUST YOUR CREATION!!! ENJOY!!!
|
|

|
